
So this came about when I would purchase packs from TPT that had an entire page for one item that wasted a lot of ink. Now, don't get me wrong, sometimes, it's worth it to print those, but most of the time, I prefer to be a bit greedy with my ink. So I figured out how to put multiple pages on one single page. Did that make sense? It does in my head - LOL! Here are some photos to help....

So here I chose one of my products in PDF form, which is how you usually get them on TPT. This product was made horizontally and I actually do print each page in full, but if I wanted to make these into a center, small group, etc. item, I could. You need to first decide how many "photos" (they are not photos but that is what I am referring to when talking about the pages from now on). If you want to just cut the size in half, or in fourths, etc.

The first thing you want to do is go to file - then print (see above). Now you want to choose PAGES. This is going to print only the pages you want. I am pretty ink greedy and pick and choose what I am going to print this way. I usually write down the page numbers so I know what to enter in the PAGES box (see below).

I didn't want the cover, so I only printed 2-5. Now, you could just print the entire pack and not hassle with this, but I choose not to waste my ink on the credit/direction pages. I can print those at school in black and white.

Now this part can get tricky. If you look at the screenshot above, the 4 "photos" are not really what I wanted. They are not using all the space that they can. I want to turn them so they are horizontal. All you have to do is go down to orientation and click landscape.
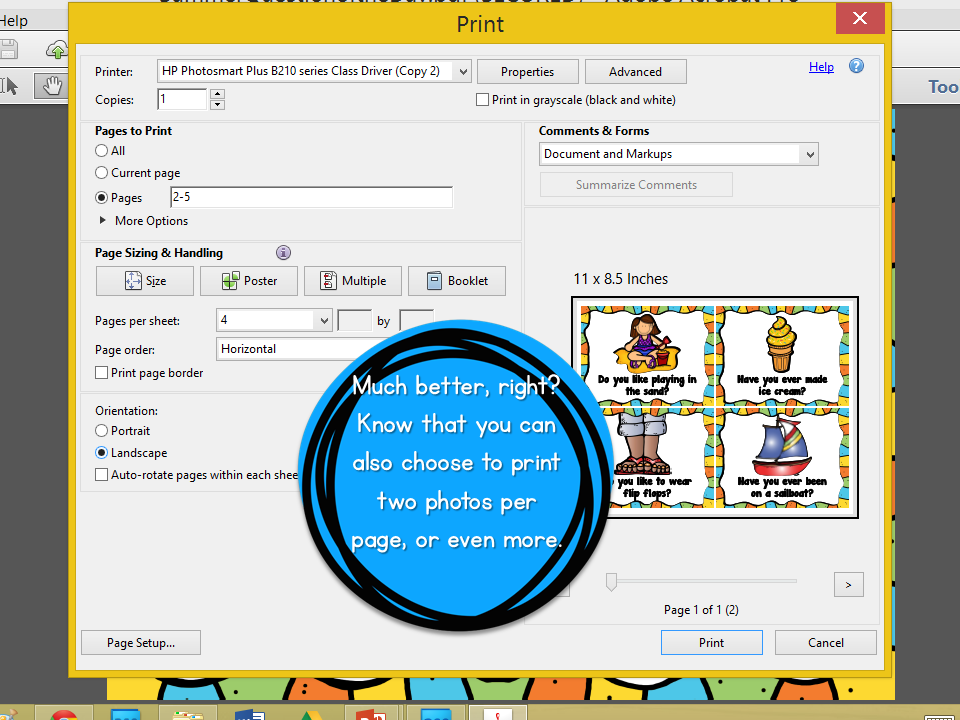
See the difference? Fills all the space and I get what I need in a smaller version. Just click print and you are ready to go! All of these steps will vary depending on your computer, program, etc. But you get the idea.
When do I use this? Here are some instances that I use this technique.
*when center cards/problems are too big and bulky so I print
them all on one page
*When I want to keep the sample photos in a pack and still print them in
color.
*Some packs are so big and I do need to print each page, but find that the
teacher direction pages can be combined into two half sheets. This
saves me space and ink!
*And when I really like the photos but I know that it will take up a lot
of my precious ink, so choose the half size instead.
I hope this was helpful to some of you. I know that it saves me the headache of having to pick and choose what I am going to print.
Have a wonderful Tuesday! Off to celebrate my baby girl's big 1-0!

No comments:
Post a Comment